How to Carve a Roasted Turkey: Directions for a Turkey-Carving Expert!
Sculpting a turkey is essentially similar to going on a stage; headlights bearing down on you, people are with knives ready and waiting to see that first impeccable cut. It’s not very complicated; in fact, there’s no reason to get all hot and bothered over it.
So let’s analyze it moving through every step for you to gain confidence in carving, possibly even adding some style.
Step 1: Time to get your tools and turkey ready
Ensure that you have all the tools you will need from the word go in the carving expedition. There is no friend like a bright carving knife or a stout fork. It is not enjoyable, or fun, to saw through a log—what your knife feels like when dull.
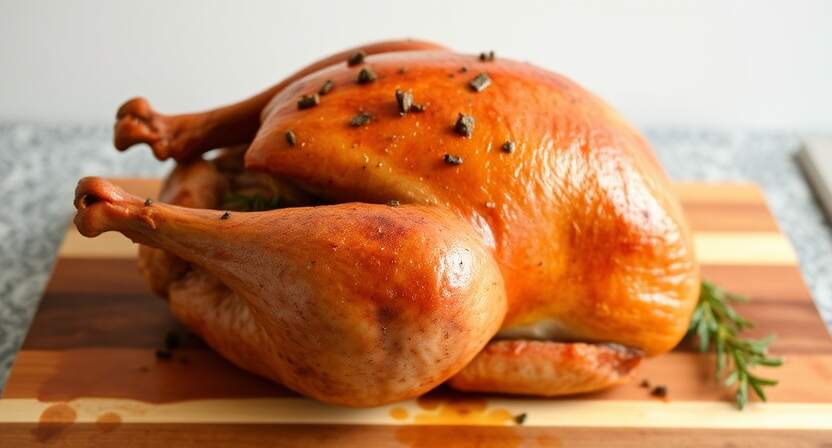
Once the turkey has been roasted, place it on a steady cutting board or even a large serving platter.
Let it rest for almost 20 minutes. Well, you know how people take a nap during the festive period especially on Thanksgiving taking a nap like a turkey; this gives time for the juices to ooze down, so the meat is not dry. If this step is omitted for instance when cutting into pie too early, all of the best elements will have slid out of place.
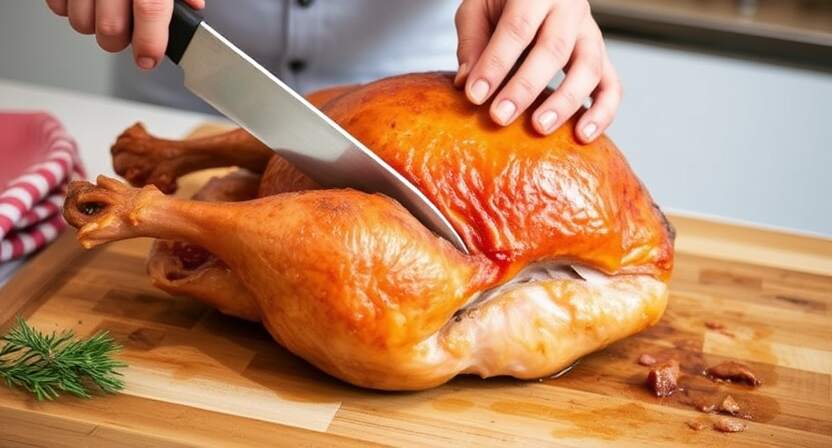
Step 2: Start with the Legs
Okay, let’s get to work. Grip the bird firmly with the carving fork to keep it steady. Next, guide the knife along the wall, cutting carefully along the spine toward the body. Wishing you’d move the drumstick like a door door, you will then discover the joint. Cut through it cleanly.
If it feels somewhat rigid, don’t overexert force on it; shake the leg gently to unclog it. It’s as if you’re trying to sort your headphone wires—remain calm. At this point, make a crossover, passing the ball through the middle and applying pressure on the other side. Then, repeat the same moves.
Drums always get the audience going, so if the coordinator is in the middle of choosing who gets the drumstick and who does not, better give out the sticks to the most enthusiastic audience.
Step 3: Cook for 30 minutes
Take Off the Wings:
Wings are simple, and they’re perfect for individuals who enjoy the tight layer of skin. Pinpoint the area where the wing attaches to the body.
Skin this piece, tuck the wing under and remove the joint. Repeat on the other side.
Pro tip: If there’s a wing-tip fanatic at the table, feel free to share—but restrict them to personal consumption. Otherwise, save those super crispy little delights for yourself. They could be turkey chips—so ignorantly good!
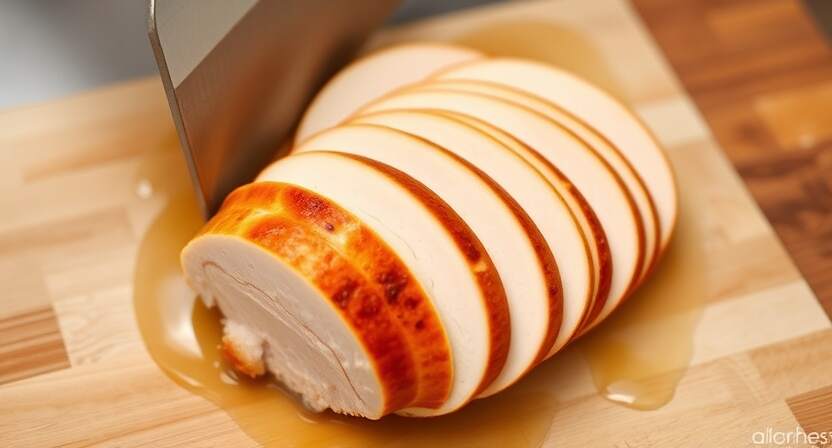
Step 4: Carve the Breast Now
Presented as the centerpiece, the “pièce de résistance“, the breast. Place one leg of the turkey on the frying basket, and then stick your fork through the other leg, snugly into the head and neck area.
Slicing from the peak of the breastbone, glide downward and trim slightly inward toward the wing joint. Try for thin, even slices. Think of it like cutting bread: smooth, even strokes. Do not rush; this is where presentation comes into play. When you have finished trimming all the lean meat with precision on one side, flip the poultry over and start doing the same on the other side.
Place the slices of the succulent meat attractively on a plate, with enough space between them so each person gets some skin with every slice they are served. That is where most of the flavor lies!
Step 5. Recall the oyster:
If you have not yet had the pleasure of the turkey oyster, you wouldn’t be familiar with it—and that is a good thing because it will soon turn out to be a favorite. It refers to a small piece of meat attached to the back area of the animal, just below the thigh.
Tilt the turkey gently and use the tip of your knife to lift it out. It’s the secret treasure of the turkey, like finding the last cookie in the jar. Some save it for themselves (no judgment), but it is worth sharing—if you can part with it.
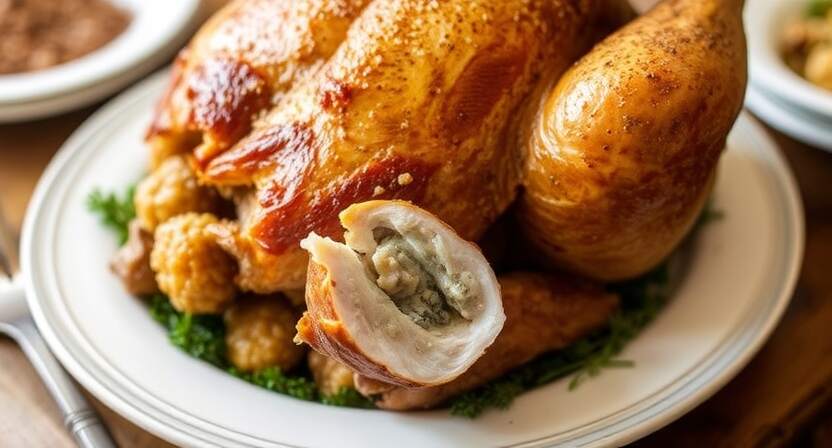
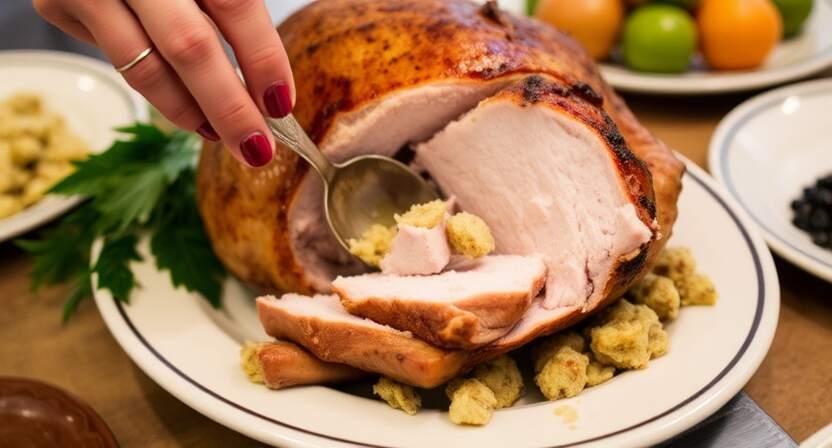
Step 6: Attend to the Stuffing
If your turkey was stuffed, now’s the time to scoop it out. With a handy spoon, try to lift it from the cavity. Give each person just a little stuffing on their plate with the meat—that’s kind of like the adhesive that holds the whole meal together.
Pro-Level Carving
If you want to go the extra mile, you can fully debone the turkey:
Remove the Thighs:
Locate the joint that attaches it to the body. Cut right through that joint. You can leave the thighs whole, cut them in half, or whatever pieces you like.
Separate the Sternum:
Cut the cartilage on both sides of the breastbone so that it releases. It’ll be much easier then to cut any remaining meat.
Divide the Spine:
Flip the turkey over and gently pry the back away from the rest of the bird. This is an optional step, but it will make sure you get every last bite.
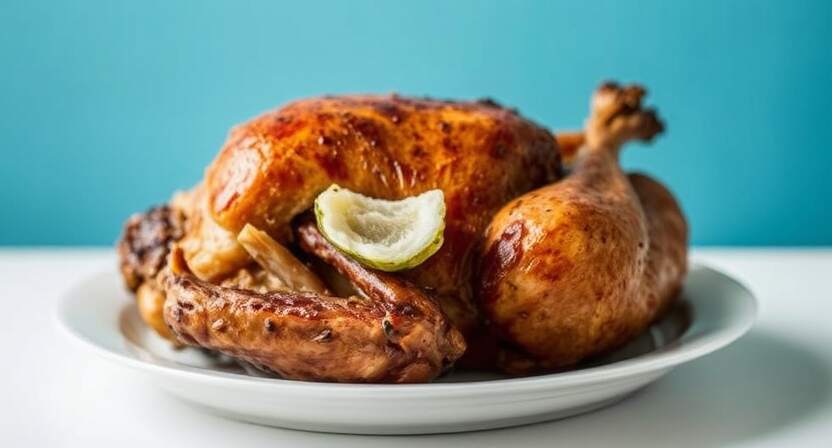
Garnish and Serve:
Once your turkey is carved, place the pieces on a fresh platter. Separate the light and dark meat for easy serving. Garnish with some fresh parsley, cranberries, or even some sliced oranges. It’s like dressing up for a party—it just looks better.
Tips For Success:
Take Your Time: Rushing leads to messy slices and wasted meat.
Stay Sharp: Prevent difficult and messy carving by using a sharp knife.